For those that saw my last post, Yui’s Snow Day, know that although the shoot was successful, it also resulted in a injury to Yui… But thanks to a nearby friend (thanks Kevin!) with garage kit building skills and tools, Yui made a miraculous recovery ^^. And since several people were curious about the process, I documented it with photos at each step which I will be sharing in this post.
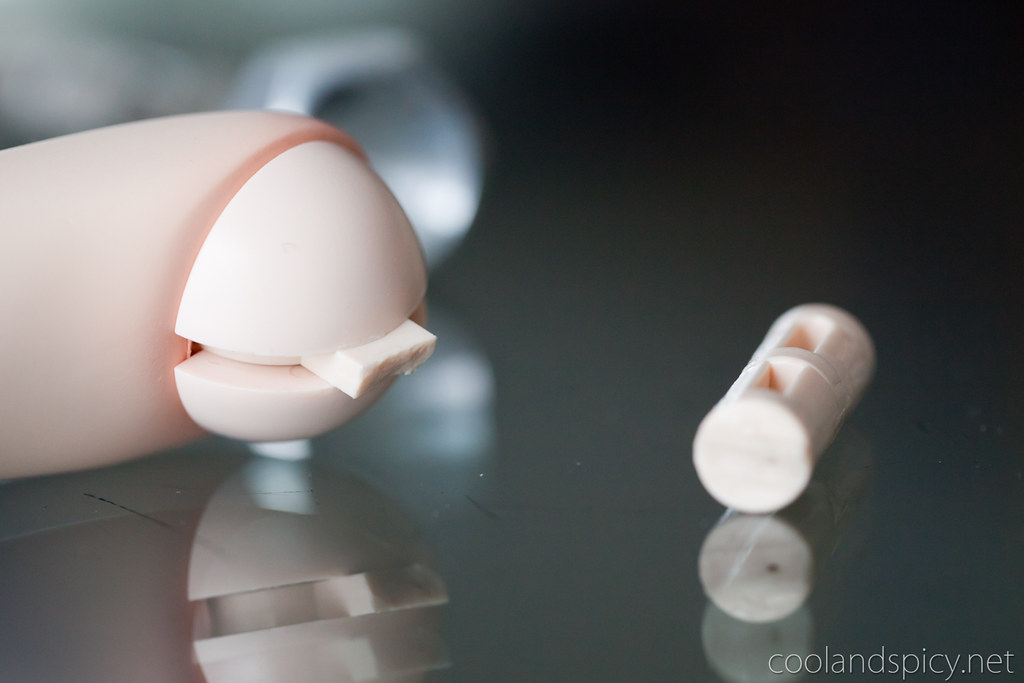
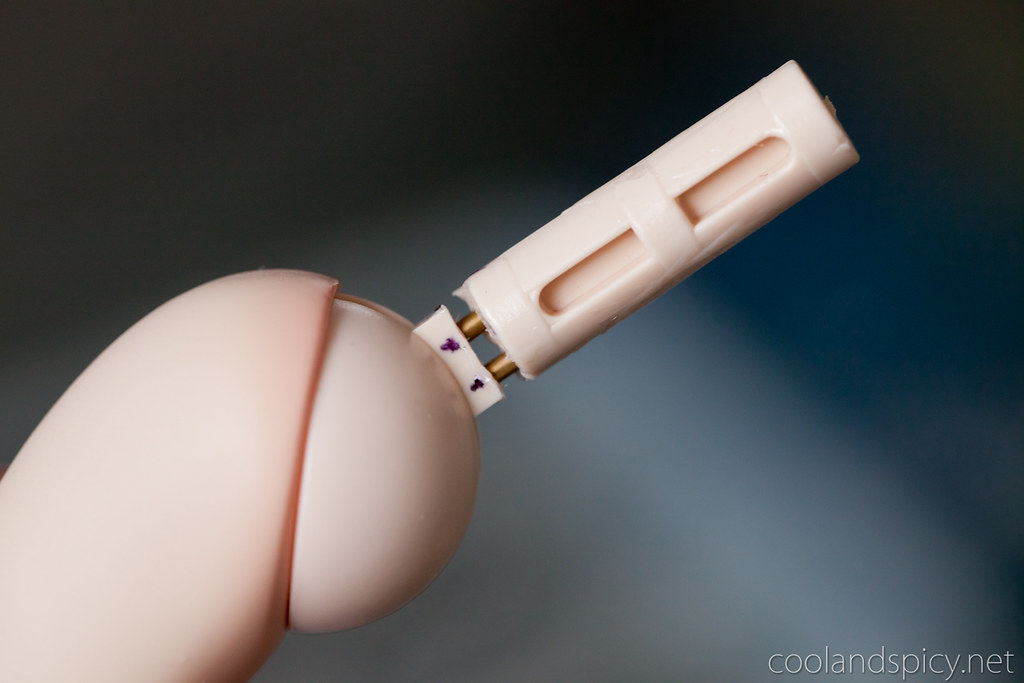
The damage. The shoulder joint peg had completely snapped off ;_; We’re about to fix it though!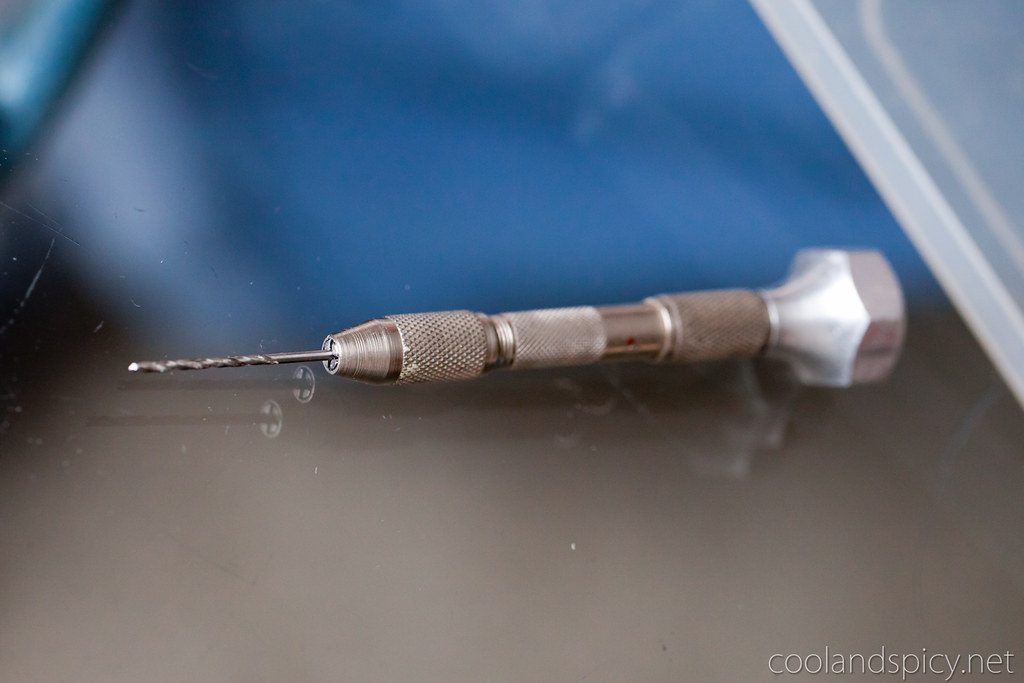
The main tool: the drill. We have a small bit (don’t know the exact size) that is necessary to drill the tiny holes required.
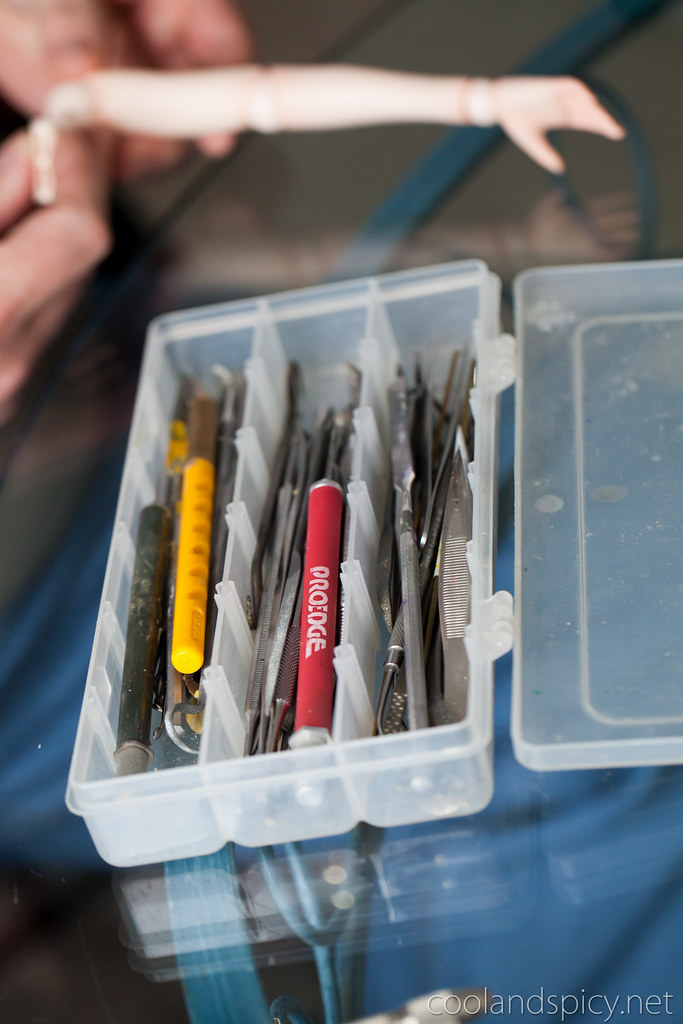
Some of Kevin’s other tools.
The basic repair plan is to drill two tiny holes in this rather small piece of plastic, insert supporting pins, and then glue the pieces together with epoxy.
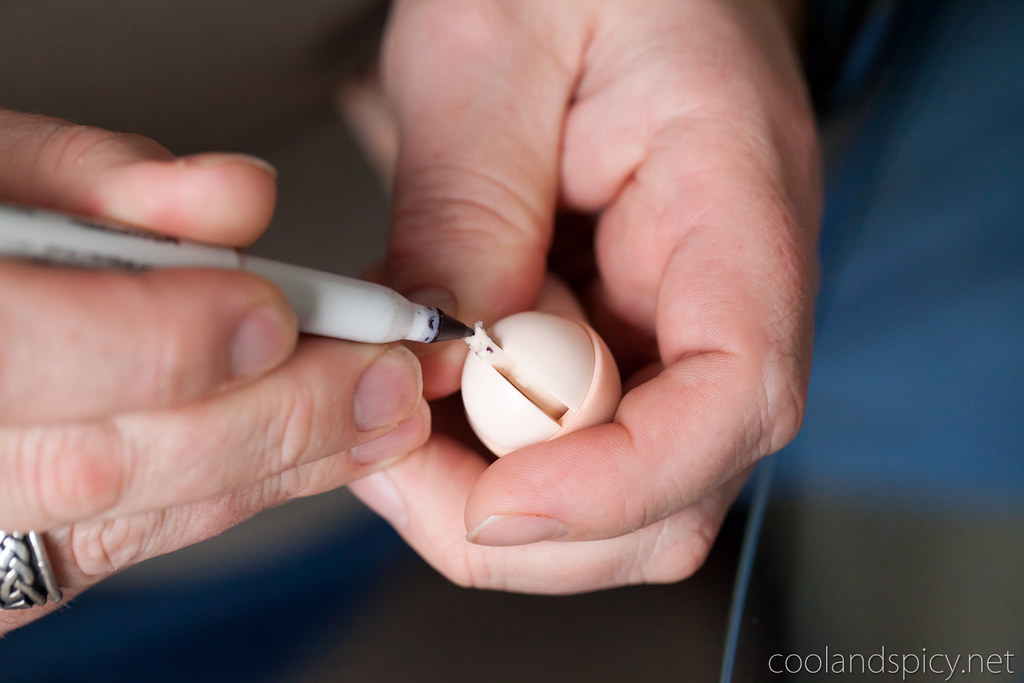
The first step is to mark our drill holes on each side of the crack so they will match up.
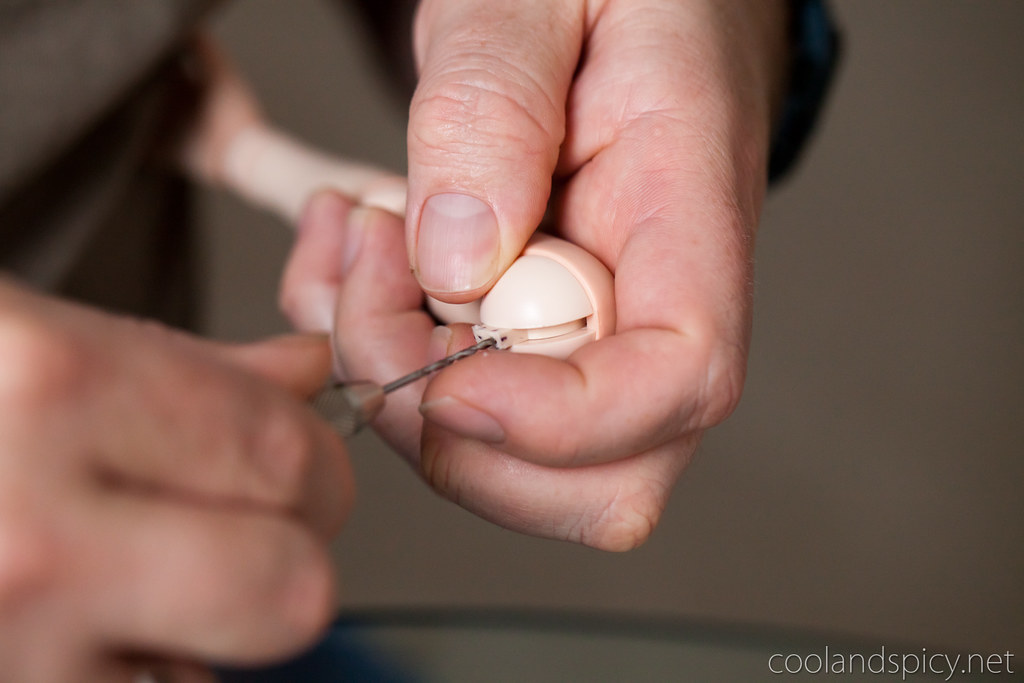
Drilling the first hole by hand. Getting the hole started in the right place without letting the drill slip is important. The holes on both pieces have to match up!

Drilling the second hole.
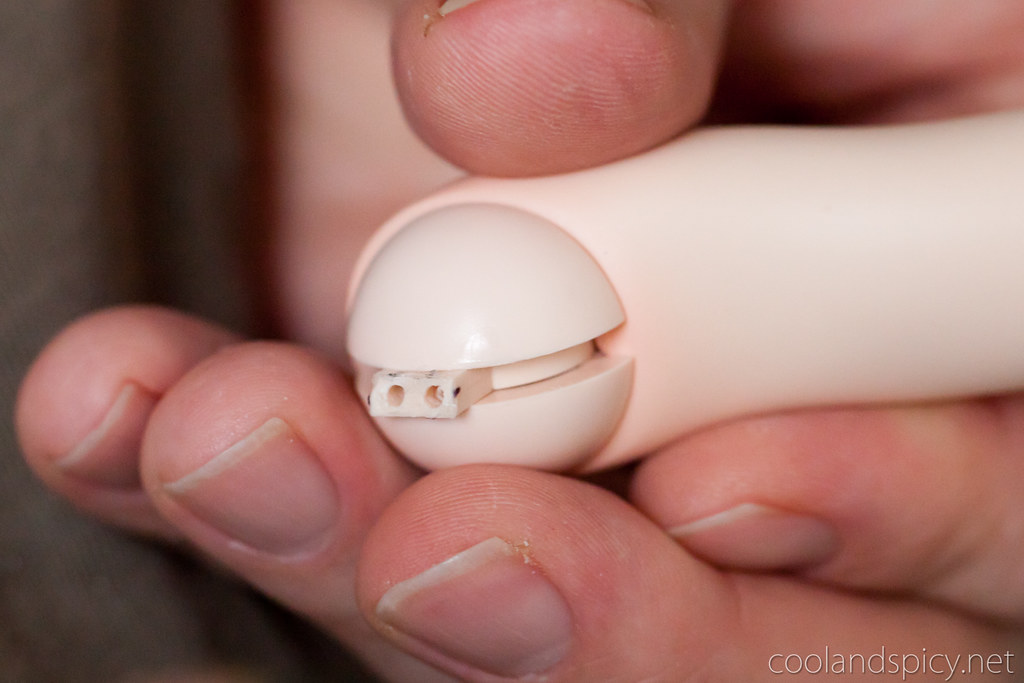
We now have our pinholes.
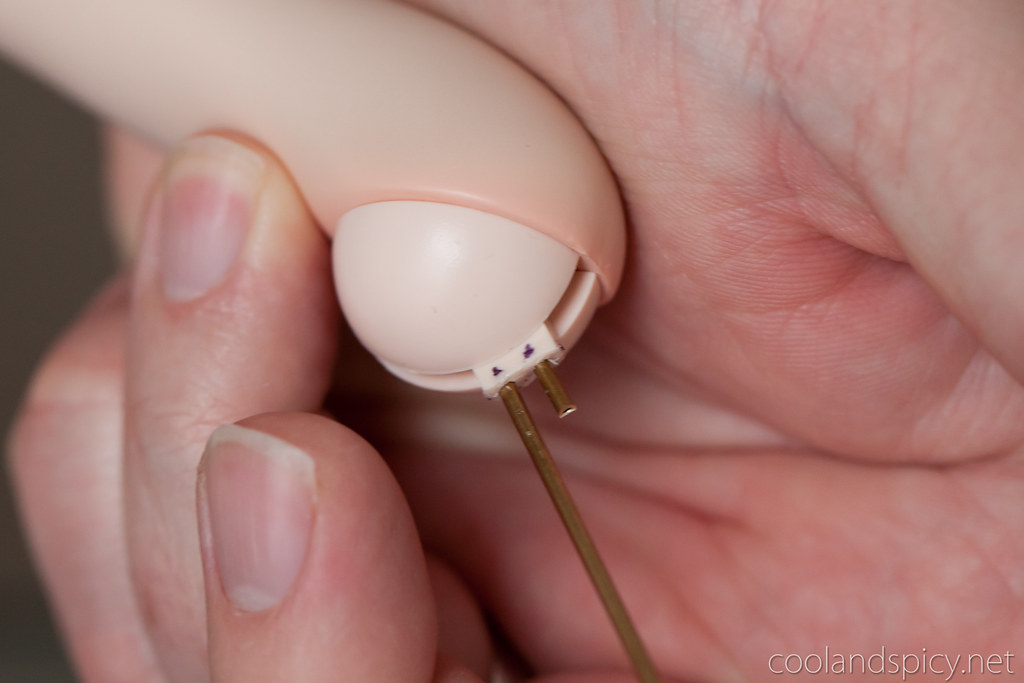
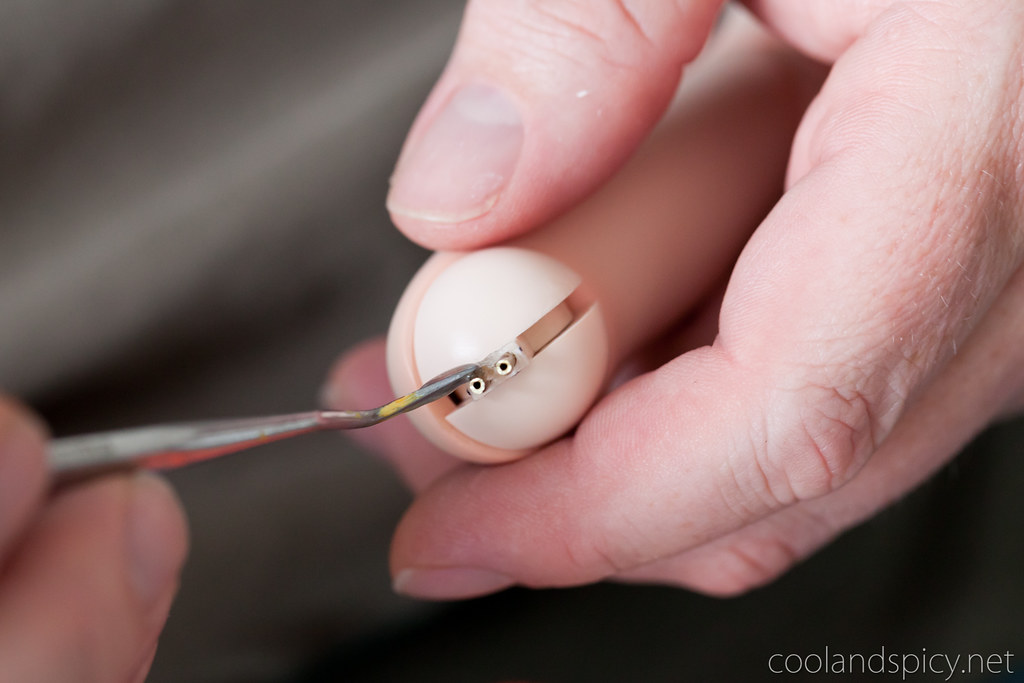
We used a very small gauge metal tubing to support the epoxy.
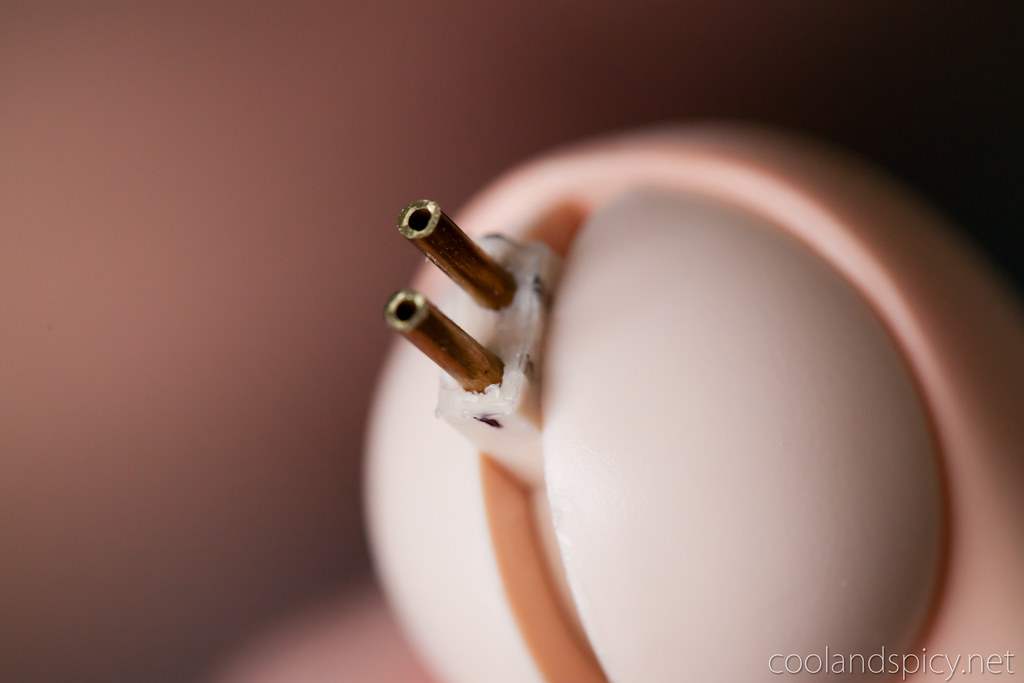
Both pins inserted.
Testing if the pins fit line up with the holes on the other piece.
Once we decided the pins were sufficiently lined up, we opened up the epoxy.

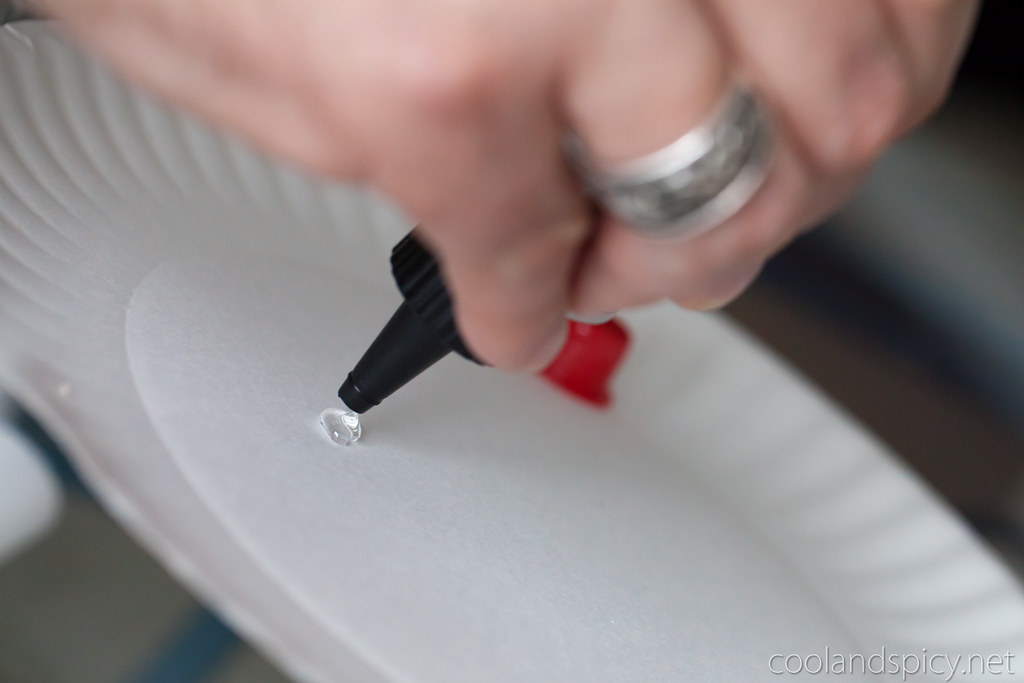
The epoxy we used was for plastic models and came in two containers, one for the epoxy and one for the hardener to set it. You mix them together right before applying to the subject.
A bit of epoxy goes around the pins.

We used quick-drying epoxy so we had to set the pieces quickly ^^;
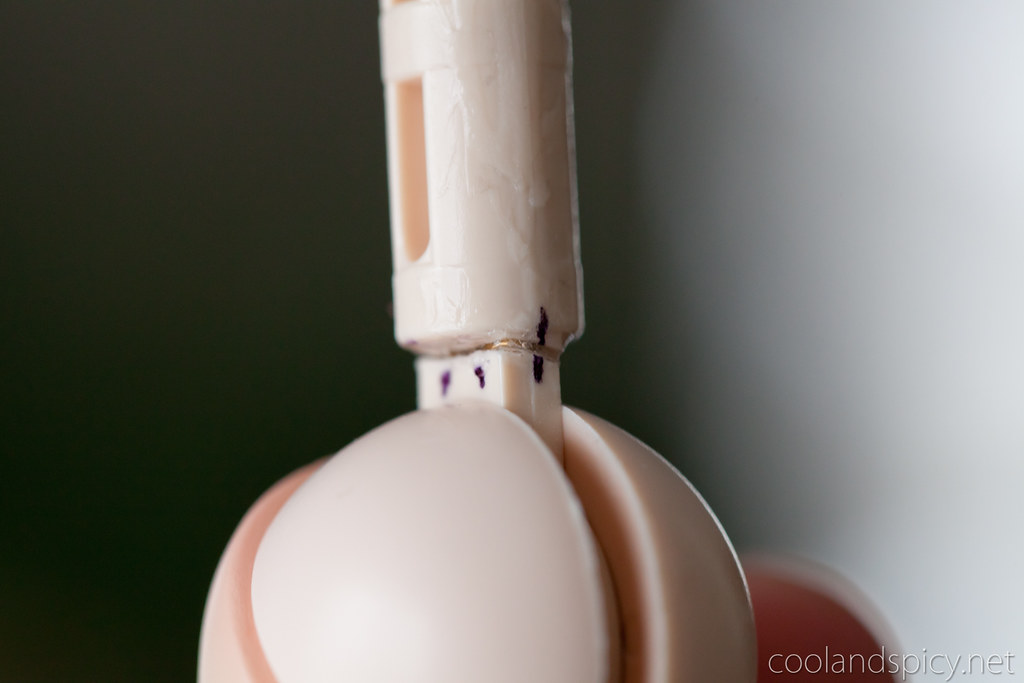
The finished product!
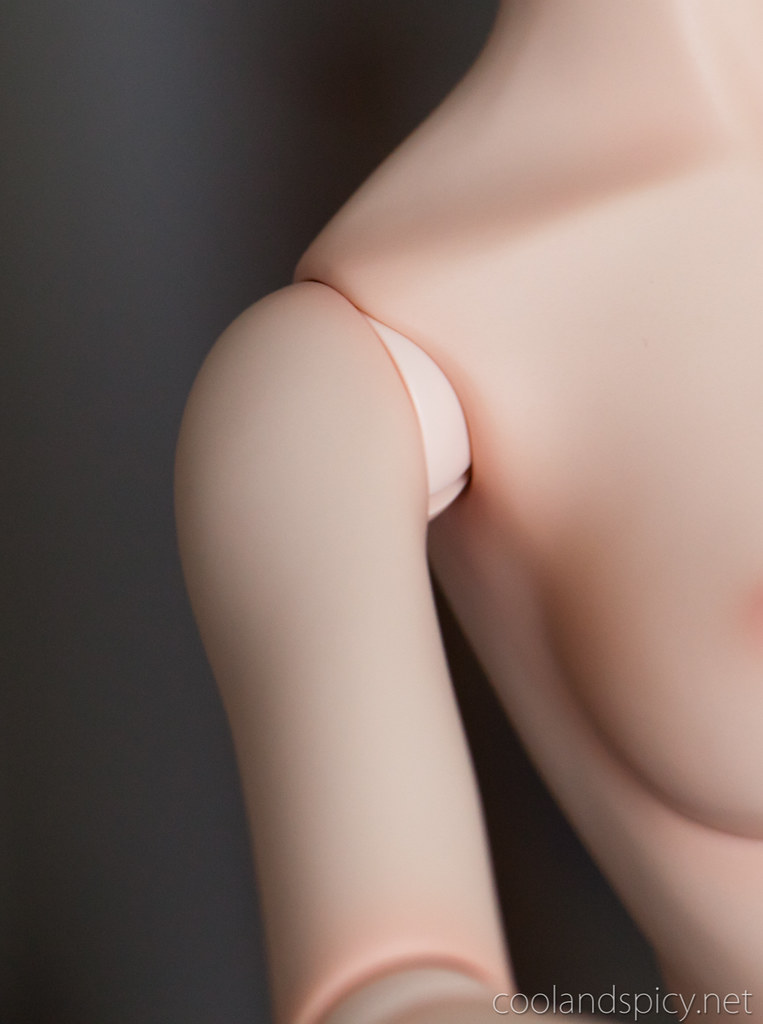
After letting set for about 30 minutes, we attached the arm back to Yui for a rotation test.

The arm is once again in operation! Yui is pleased :)
Ah Im glad that you were able to fix it in such a professinel looking way.
the joint is fixed, Yui seems happy and shows us her nipple in the last picture(great!)XD
Ahem, Yui is not that kind of girl =P
That was just to show the arm back in the socket. I swear! xD
haha, somehow I don’t believe you ;p
I had thought that would probably be the way to do it, pinning it and gluing the pieces back together. Being able to drill small holes and hold the handvice straight is extremely important, am glad you are able to fix Yui up :D
Yeah, I’m glad it worked out. Still going to be extra careful with it in the future ^^;;
Nice to see the whole process of the arm repair. Though guess you’d not only need the tools but someone with skilled hands and experience at doing such fixes with small plastic objects.
Yep, he did most of the work. I mostly watched and took photos xD
You are the same as Jun from rozen maiden restoring that what is lost….
I’ve been debating doing some repair work on my 3 older Sailor Moon Figures. I was debating if I could make a nice smooth wood base with pegs and drill out the pegs that brole off on their legs/feet. But in the end I’ll probably just glue the two broken pieces of plastic together.
Youre a sly one! Letting someone else do the work and getting a blog post as reward!
I always wondered where I can pick up those Metal Gauge tubings…Never saw them here at shops
Seeing those pics of pinning the pieces together reminds me of my GK days! :D
Glad she’s in good health now.